Solar Panel Installation Ireland 2026: Step-by-Step Homeowner Guide
Installing solar panels in Ireland is a smooth, well-understood process in 2026 — if you know what each step actually involves. VAT is 0% on residential supply-and-install until 31 December 2026, the SEAI grant pays up to €1,800, and an average installation runs 1–2 days on the roof with another 2–6 weeks of paperwork either side. This guide walks through every step a typical Irish homeowner goes through, in the order it actually happens.
Quick Answer: How Solar Installation Works in Ireland
Solar panel installation in Ireland in 2026 involves: (1) Quote from SEAI-registered installer, (2) SEAI grant pre-approval (~3 weeks), (3) ESB Networks NC6 notification, (4) 1–2 day rooftop install, (5) Smart meter swap and Clean Export Guarantee enrolment. Total timeline: 4–8 weeks. Grant: up to €1,800. VAT: 0% on supply-and-install.
Step 1: Get 2–3 Quotes From SEAI-Registered Installers
Every legitimate Irish solar journey starts with the SEAI Registered Companies list. Only installs by SEAI-registered companies qualify for the €1,800 grant. Anyone who tells you otherwise is wrong.
What a good quote contains:
- System size in kWp and panel count
- Panel make, model and 25-year output warranty terms
- Inverter make, model and 10–12 year warranty
- Mounting hardware brand (Schletter, K2, Renusol, Esdec)
- Expected annual generation in kWh, with the assumptions (location, tilt, orientation)
- Itemised price: panels, inverter, mounting, cabling, scaffolding, labour, SEAI paperwork, margin
- Battery line (separate, even if you don’t order one yet)
- Timeline from sign-off to commissioning
If a quote skips any of these, ask for them. A vague quote is a warning. For a deeper dive on what to expect from quotes, see our 2026 Ireland solar cost guide.
Step 2: The Site Survey
After you accept a quote, the installer arranges an on-site survey — usually 30–60 minutes. They check:
- Roof structure. Slate vs tile, rafter spacing, rafter condition. Some older Irish properties (especially pre-1980) need additional bracing.
- Orientation and tilt. South-facing is best, but east-west splits perform well too — sometimes better for self-consumption.
- Shading. Chimneys, dormers, trees, neighbouring buildings. They use a digital app or simple shadow mapping.
- Fuse board and meter location. The cable from inverter to consumer unit may need new conduit runs.
- Loft access. The inverter usually sits in the attic. They check ventilation and access.
The survey often results in a revised quote — a few hundred euro up or down depending on what they found. That’s normal. If the change is dramatic, ask for the engineering justification.
Step 3: SEAI Grant Pre-Approval (3–4 weeks)
This is the step most homeowners get wrong. You cannot start the install before SEAI grant approval comes through. If you do, you lose the grant.
The flow:
- You apply via the SEAI Solar PV grant portal with your MPRN and BER details
- The installer’s SEAI registration number goes on the application
- SEAI processes and emails a Letter of Offer (typically 2–3 weeks in 2026)
- Once you accept the Letter of Offer, the installer can begin
The grant amount: up to €1,800 (this was reduced from €2,400 in early 2024 and again to €1,800 in 2025; figures are 2026-current).
Eligibility, quick check:
- Home built before 1 January 2021
- You are the homeowner (proof of ownership required)
- The MPRN has no prior SEAI Solar PV grant
- Installer is SEAI-registered at time of application
For more on the application process, see our complete SEAI grant guide.
Step 4: ESB Networks NC6 Notification
Parallel to the SEAI process, your installer files an NC6 (Notification of Connection — microgenerator) with ESB Networks. This is a notification, not an application — for systems under 6kW (single-phase) or 11kW (three-phase) it’s automatic and doesn’t require pre-approval.
What the NC6 triggers:
- ESB Networks updates your meter to track import + export separately
- Your electricity supplier is notified that you’re a microgenerator
- You become eligible to enrol in the Clean Export Guarantee (CEG)
Larger systems (above 11kVA three-phase) need an NC7 Connection Offer instead — that’s a fuller approval process with 12–26 week lead times.
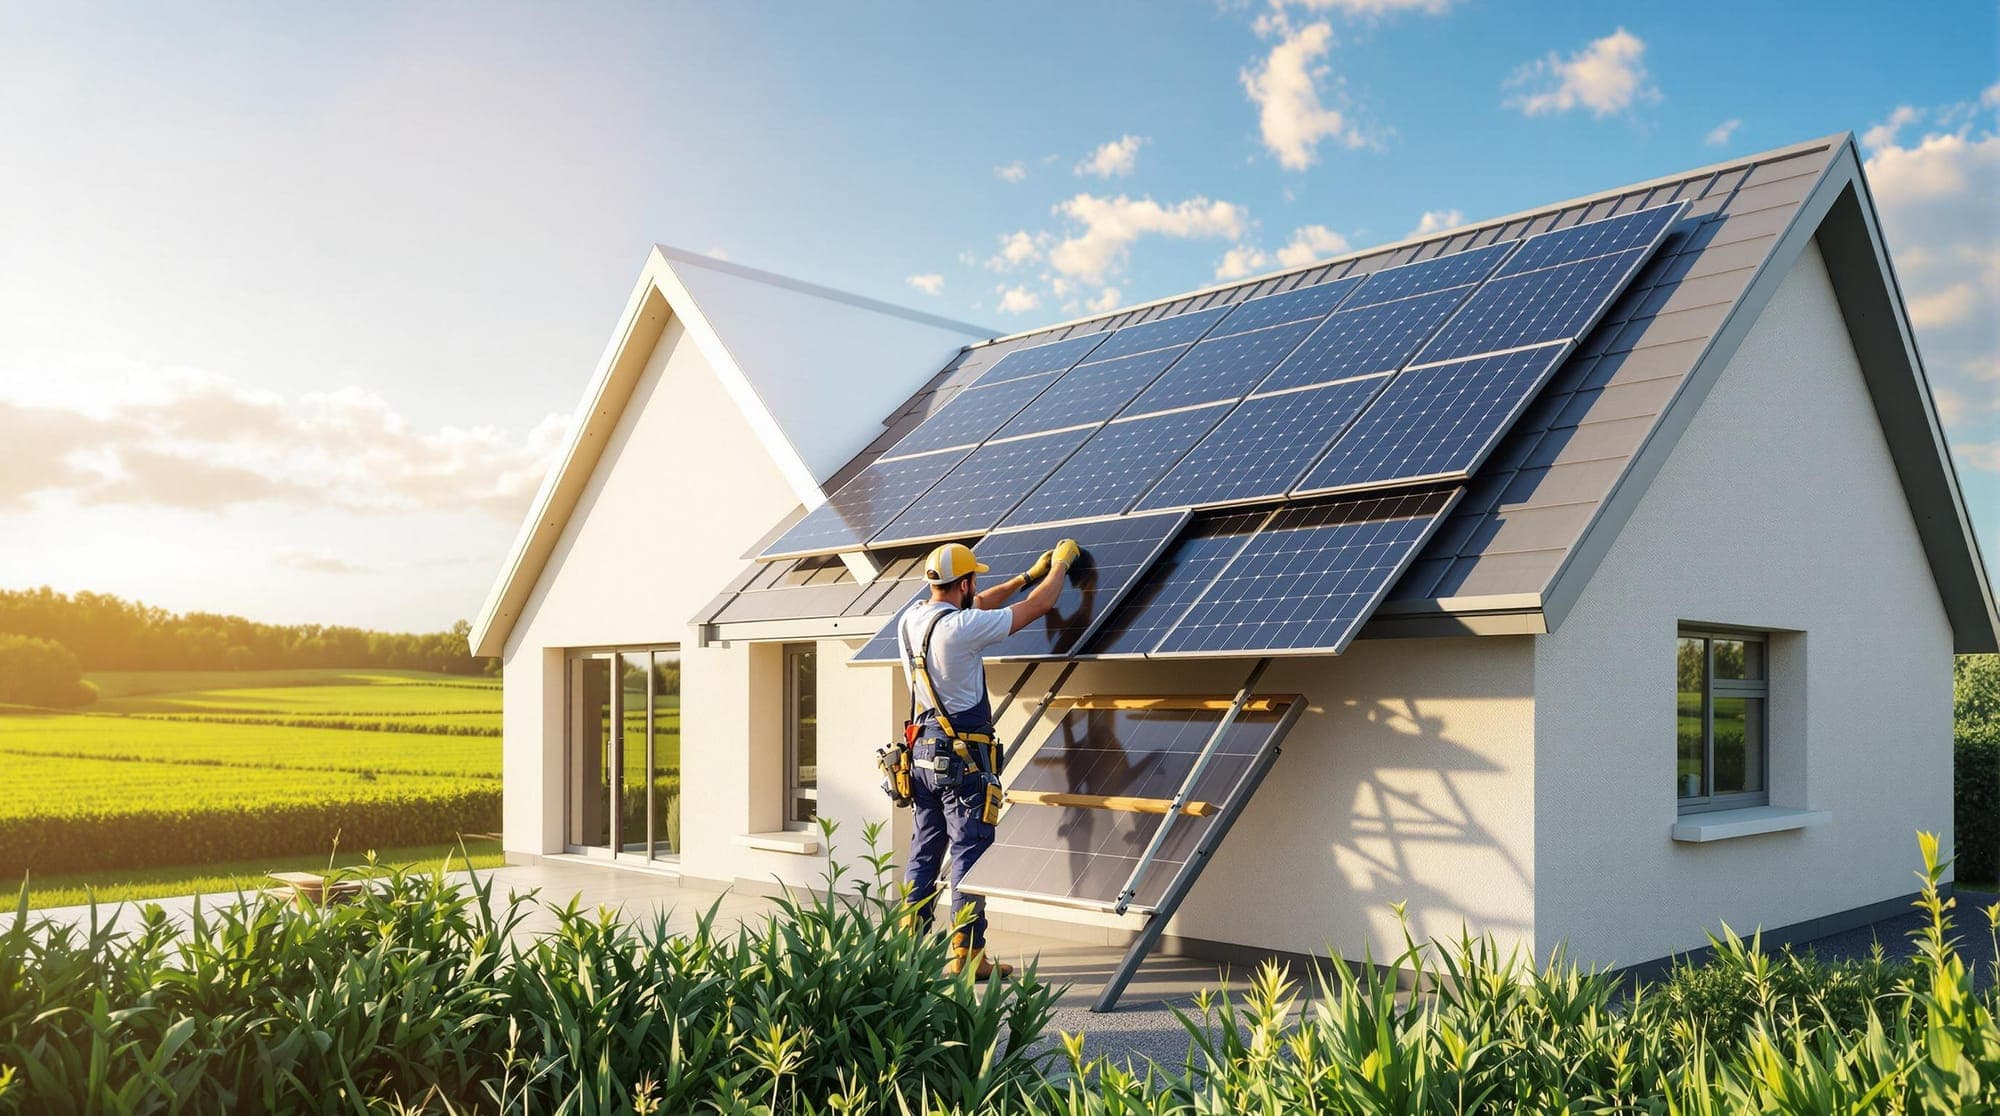
Step 5: Installation Day (1–2 Days)
The day(s) the panels actually go up. Here’s what to expect:
Day 1 — AM
- Scaffolding crew arrives ~07:30 (sometimes day before)
- Install team arrives ~08:30 with two vans
- Mounting rails go up first — brackets bolted directly into rafters
- Cables fed through to attic
Day 1 — PM
- Panels lifted to roof and clamped onto rails (typically 1–2 hours for 10 panels)
- DC string cabling completed to the attic isolator
- Initial insulation resistance test
Day 2 (sometimes same day for simple installs)
- Inverter mounted in attic and connected to DC strings
- AC cable run from inverter to consumer unit (fuse board)
- New AC isolator and RCD installed in/beside fuse board
- System commissioning: RCBO test, generation test, monitoring app setup
- Walk-through with homeowner: where the isolators are, monitoring app login, what each warning light means
- Scaffolding struck (often the day after)
Typical 4kWp residential install: 1.5 days. 6kWp or roof-complex install: 2–2.5 days. Battery adds half a day.
Ready to Get Quotes?
Match with SEAI-registered installers in your area in under 30 seconds.
Step 6: SEAI Inspection & Grant Payment
After install, SEAI commissions an independent inspector who calls out within 4–8 weeks. They check:
- System matches what was applied for (panel make, count, kWp rating)
- RCBO and isolators correctly installed
- Inverter labelling and warning stickers in place
- Customer has the commissioning documentation pack
Once the inspector signs off, SEAI pays the grant directly to your installer (who has already discounted it from your invoice). You then receive a final completion certificate by post within a couple of weeks.
Step 7: Smart Meter & Clean Export Guarantee
The final piece: actually getting paid for the electricity you export.
- ESB Networks reprograms your smart meter to track import vs export separately (automatic post-NC6).
- You contact your electricity supplier (Electric Ireland, Energia, SSE Airtricity, Bord Gáis, Yuno, etc.) and ask to be enrolled in the Clean Export Guarantee (CEG).
- Your supplier confirms enrolment within 2–4 weeks and starts crediting export at their published rate.
2026 CEG rates vary by supplier. Top rates around 22–24c/kWh (Energia leads consistently); lowest around 18c/kWh. See our CEG rates comparison for the live picture.
Full Installation Timeline: 4–8 Weeks End-to-End
| Phase | Typical Duration | Who’s Doing What |
|---|---|---|
| Quote & comparison | 1–2 weeks | You collect 2–3 installer quotes |
| Site survey & revised quote | 3–7 days | Installer visits, refines pricing |
| SEAI grant application | 2–3 weeks for Letter of Offer | You apply; installer signs as company |
| Installation scheduling | 2–6 weeks (booked once grant approved) | Installer waiting on slot + scaffolding |
| Physical installation | 1–2 days | Crew on site |
| SEAI inspection & grant payment | 4–8 weeks post-install | SEAI inspector visits |
| CEG enrolment with supplier | 2–4 weeks | You phone your supplier; they enrol you |
Total elapsed time from signing the quote to first CEG payment: typically 10–16 weeks. From signing the quote to operational solar: 5–10 weeks.
Common Mistakes Irish Homeowners Make
- Starting work before SEAI Letter of Offer. You lose the €1,800 grant. Wait.
- Going with a non-SEAI-registered installer because they’re cheaper. No grant, dodgy paperwork, no CEG eligibility certainty.
- Buying a battery you don’t need yet. Batteries have no SEAI grant currently. Battery economics work for many homes but not all — analyse load profile first. See our battery economics guide.
- Skipping the CEG enrolment phone call. ESB updates the meter automatically. Your supplier does not enrol you in CEG automatically — you must request it. Until you do, your export goes uncompensated.
- Choosing a poor inverter brand to save €200. Inverters are the part that fails first (warranties 10–12 years vs. panels 25). Spend on a reputable brand.
- Forgetting planning checks in ACAs. The SI 235 exemption covers most Irish homes, but ACAs and protected structures still need explicit planning. See our planning exemptions guide.
Step 8: Optimisation After Commissioning
Once the system is live, three small things make a meaningful difference:
- Move heavy loads to daytime. Dishwasher, washing machine, immersion heater — running these midday (when solar is generating) lifts self-consumption from ~40% to ~55% with no hardware change.
- Add a hot-water diverter (Eddi, Solar iBoost, Solic). ~€400 fitted. Dumps surplus into your immersion tank instead of exporting. Pays back in 18–30 months.
- Watch your monitoring app for a fortnight. You’ll spot patterns (peak generation hours, weather impact, shading from a tree you didn’t notice). Worth adjusting habits around.
Installation FAQ
Can I install solar panels myself in Ireland?
Legally, you can do DC works under permitted-development rules, but AC works must be done by a Safe Electric-registered electrician, and SEAI grants only apply to SEAI-registered installer companies. DIY = no grant, plus insurance/CEG complications. See our DIY install guide.
What happens if I sell my house after installing solar?
The panels stay with the property. The BER improves by ~10–15 points, which raises sale price by an estimated 4–6% (Daft.ie 2025 BER data). The CEG enrolment transfers to the new owner.
Do I need planning permission to install solar panels?
Almost never on a pitched residential roof in Ireland thanks to the 2022 exemption (SI 235). Exceptions: ACAs, protected structures, or Killarney/Wild Atlantic Way scenic corridors. Always check if your property has any planning conditions referring to roof finish or visual amenity.
How loud is a solar inverter?
Modern string inverters in your attic emit a low 35–45dB hum during peak generation. Quieter than a fridge. Not audible from the rooms below.
How often do solar panels need cleaning?
Rarely. Irish rain handles 95% of dust. Once every 3–5 years a soft-brush wash is sufficient. Avoid pressure washers — they damage seals.
What if the weather is awful during my install week?
Reputable installers won’t work in heavy rain (slip risk) or storms. Expect 1–2 day delays in winter. Slates and tiles get more brittle below 4°C — some firms pause installs in hard frost.
Can my system be remotely monitored?
Yes — every modern inverter ships with an app (SolarEdge, Fronius, SMA, Huawei). You see generation in real time, daily/monthly summaries, and any error alerts.
Ready to Start the Installation Process?
The 2026 stack — €1,800 SEAI grant + 0% VAT to year-end + 18–24c/kWh CEG export — is the strongest commercial case Irish solar has ever had. Most homeowners we hear from are surprised that the actual install takes 1–2 days while the SEAI paperwork takes weeks. Start the quoting process before you start house-hunting if you’re moving; book the survey now if you’re not.
Ready to Go Solar?
Get your free personalised quote from SEAI-registered installers near you.
Related Articles
Cheapest Solar Panels Ireland 2026: Where to Save Without Ruining Your Payback
Cheapest legitimate solar routes in Ireland 2026: budget SEAI installs, DIY vs grant maths, Lidl plug-ins & where the price actually comes from.
Solar Panel Tilt Angle Ireland 2026: Optimal Pitch, Flat-Roof Frames & Real Output Impact
Ireland tilt angle 2026: 35° optimum, why 20–50° is fine, flat-roof frames, ground mount, adjustable mounts and real PVGIS output numbers.
Solar Panels Longford 2026: Costs, Grants, Installers & Real Yields
Longford solar 2026: 4kWp costs €6,800–€8,200 pre-grant, 6–8 year payback, best installers, CEG rates and TAMS farm guide.